Theme
Storing data in Azure Blob Storage (Azure VFS)
Syncplify Server!, through its virtual file system (VFS) storage layer, can store your server's data on various backends. This article covers the Azure VFS type, which stores the data in a Microsoft Azure Blob Storage container.
INFO
The Azure backend, like the other remote backends, requires the Professional or the Ultimate edition.
On the Azure side
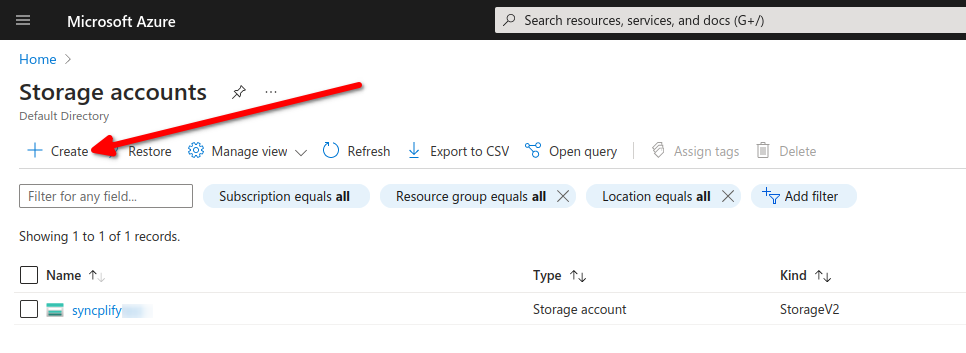
First of all you need an Azure storage account, unless you already have one. Make sure its features and security settings meet your requirements.
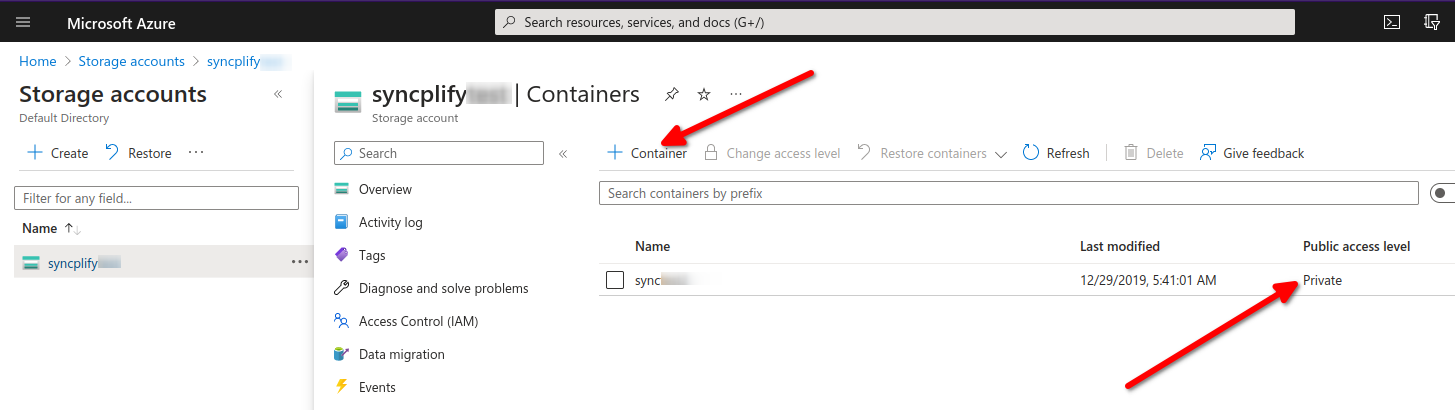
Inside the storage account, create the container (or containers) you need. For security, make sure they are not publicly accessible: access should be restricted to your storage account and its key.
On the Syncplify Server! side
In the Admin UI of the virtual site, open Storage, then Virtual File Systems, select Create VFS, give it a name and choose the Azure type. The editor asks for:
- Connection: the Container name and an optional Endpoint, for a storage account that is not reached through the default public endpoint, plus the Skip TLS certificate verification toggle.
- Credentials: the Account name, and the Authentication method: either the storage Account key, or a SAS token (a shared access signature, which lets you scope what the VFS may do and for how long). Upload and download concurrency complete the section. Syncplify Server! stores every secret encrypted in its configuration database.
That is all there is to it. You can now assign the VFS to any user of the virtual site. The manual documents every field in Virtual File Systems.