Theme
Setting up a high availability (HA) cluster
INFO
This page is for Syncplify Server! v8, whose HA subsystem was redesigned from scratch. It assumes you have read and understood the high availability concepts.
Once you have decided how to deploy your Syncplify Server! high availability set, going from theory to practice is simple: it is a two step process, plus one step for deployments with a load balancer.
Prerequisites
- Every node must run the same major version of Syncplify Server!.
- Every node must reach the others over HTTPS on the port of their management interface (6443 by default), on the internal network.
- The system clock of every node in the cluster, including the one you are about to add, must be synchronized with a reliable time source. Enabling NTP on all nodes is the recommended way. If even a single node has a clock out of sync, the join is refused and the cluster does not work.
- You need the SuperAdmin credentials of the node you are joining.
Step 1: deploy the first node as a standalone server
This is the normal installation, explained for Windows and for Linux.
Step 2: add the second (or nth) node
If you are familiar with the single node setup (step 1), you have noticed that at the beginning of the web based part of the installation you are presented with this choice:
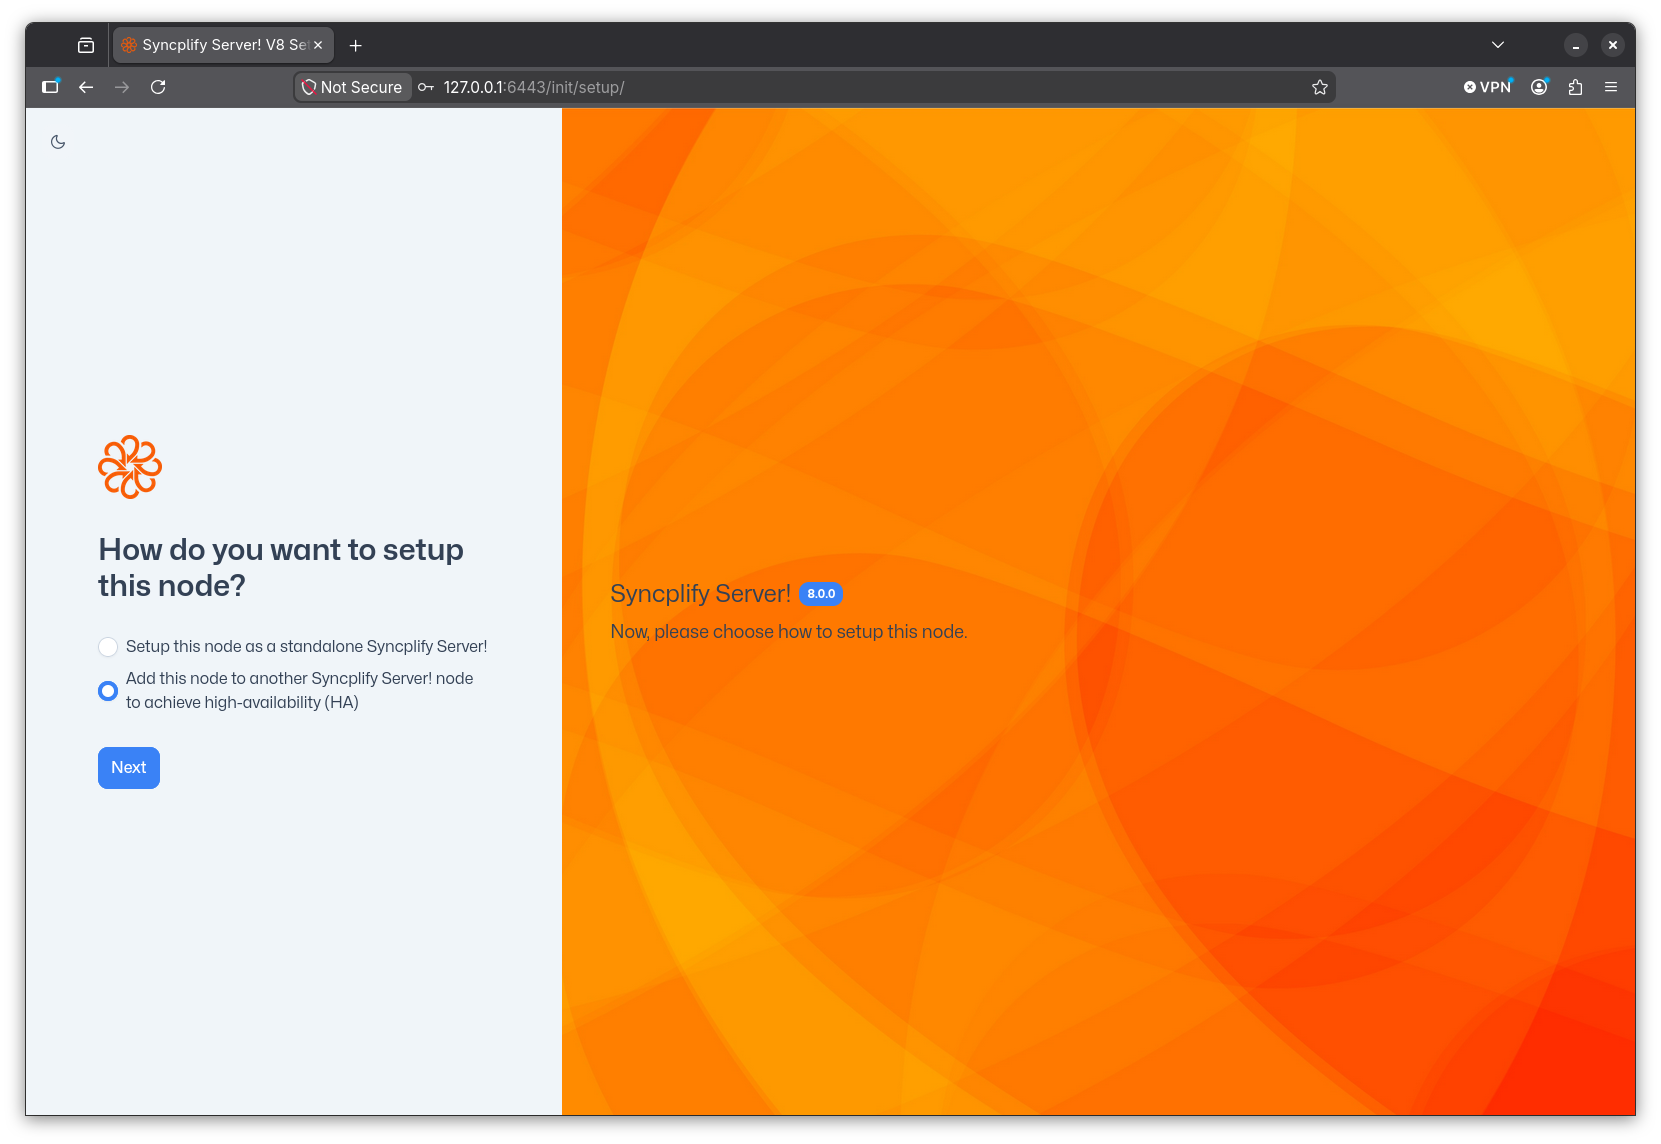
To deploy your HA set, install Syncplify Server! on another node (machine or VM) and, at this screen, select Add this node to another.... The wizard also asks for an ID for the new node: lowercase letters, digits, hyphens and underscores only, or let the small gear button generate one.
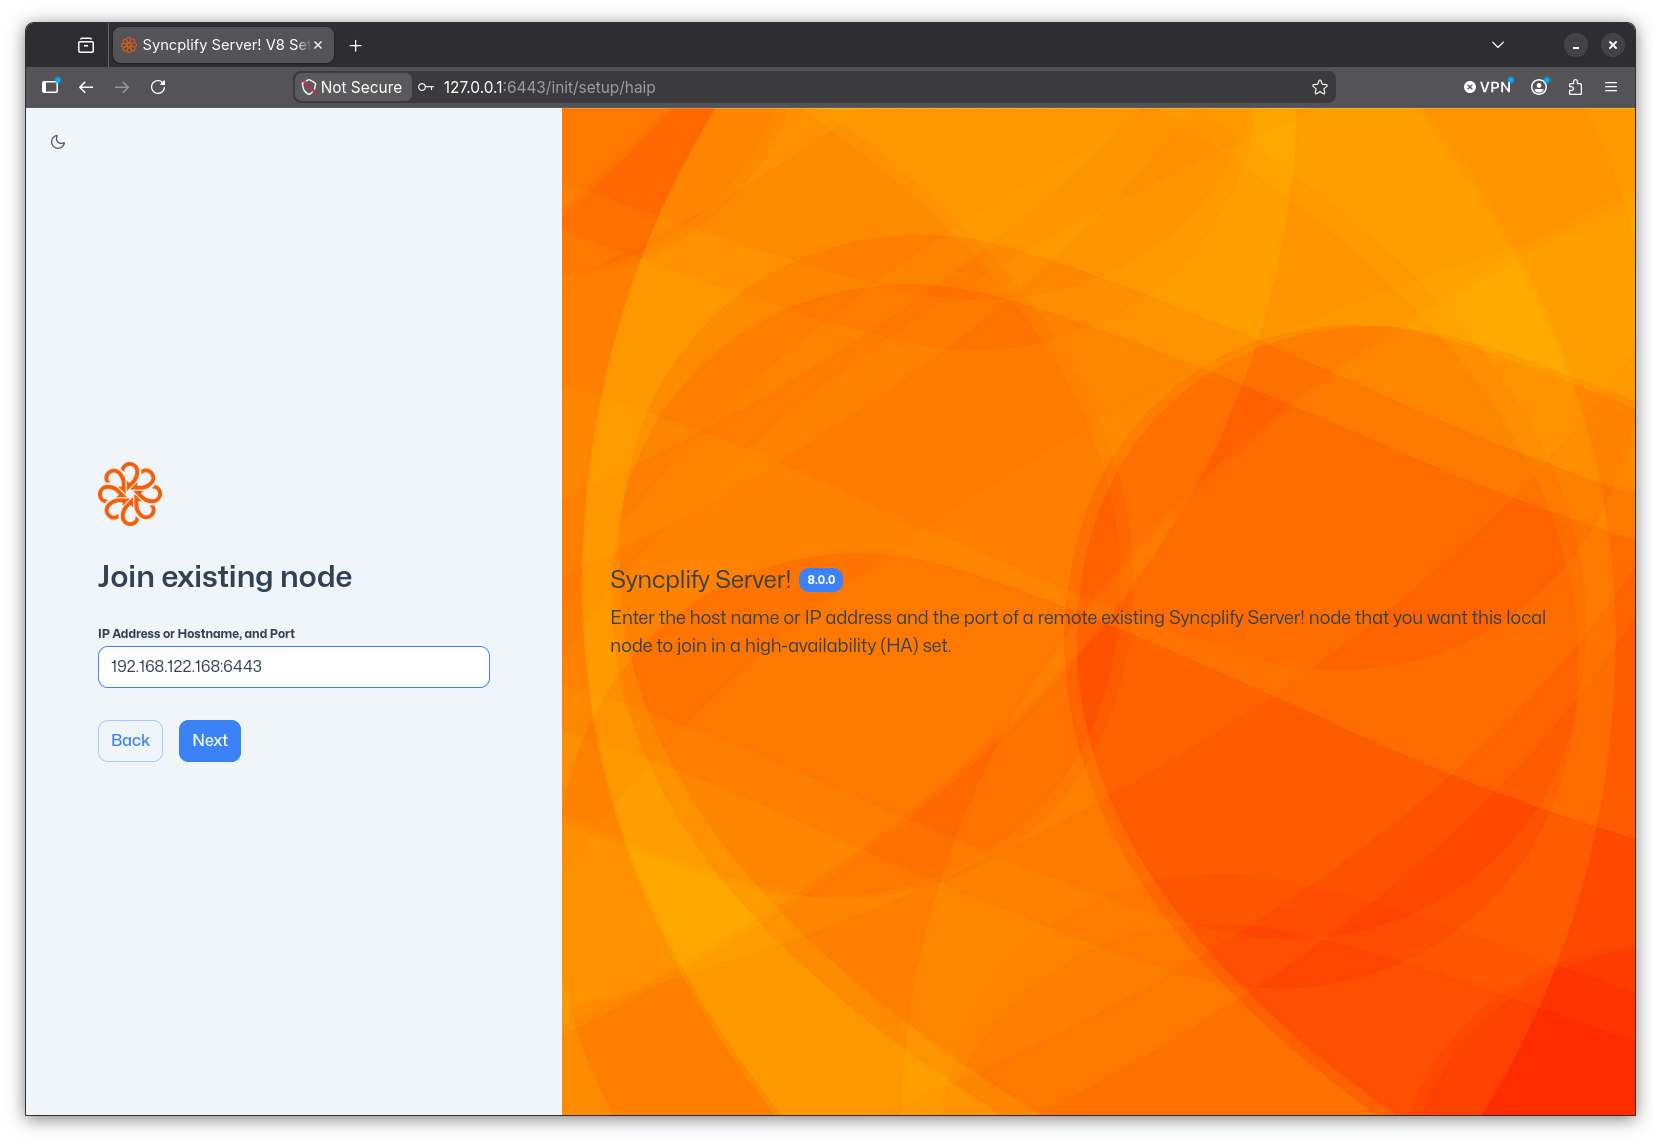
Then type the IP address and port (separated by a single colon) of the first node, the one you installed as a standalone server. The port is the one of its management interface, 6443 by default. For best performance and optimal routing, always use the nodes' internal (LAN) IP addresses here.
WARNING
Do not try to be creative here. Do not type anything exotic like a NetBIOS name "because Windows knows it" or similar oddities: it will not work. Type the LAN IP address and port of the existing node you want to join, and nothing else.
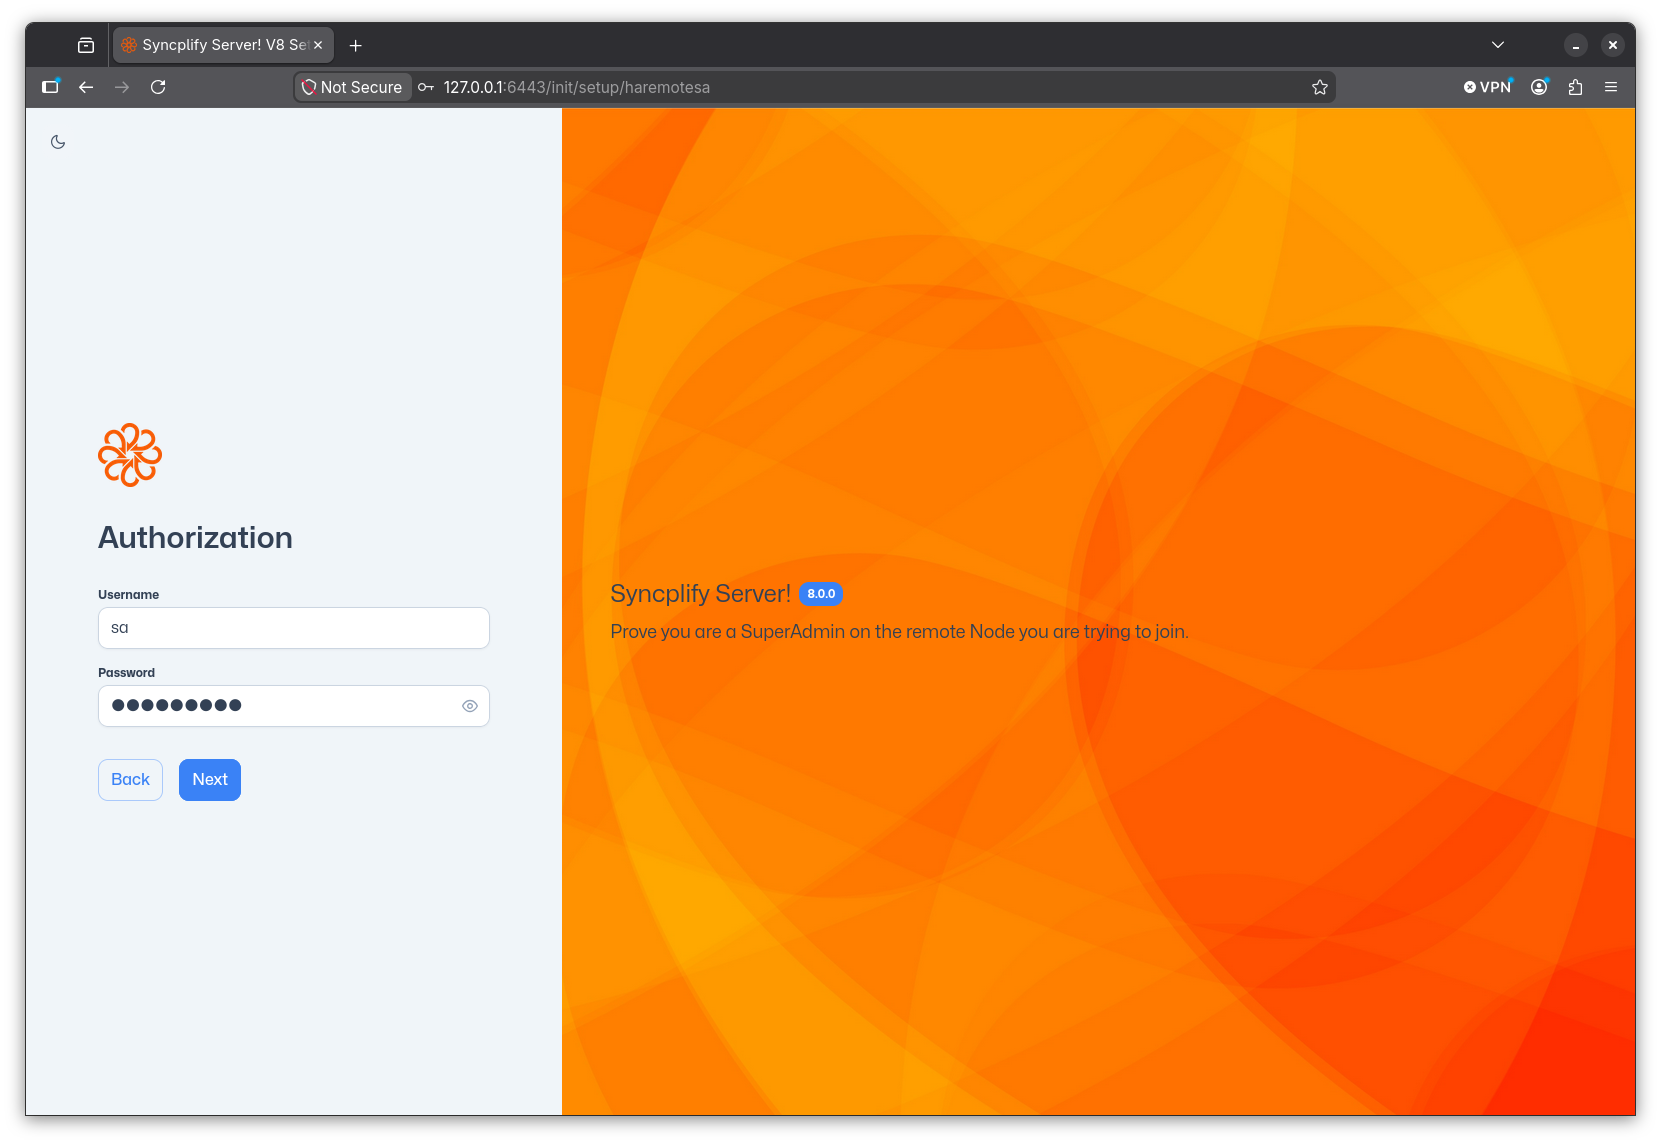
At this point provide the SuperAdmin credentials of the remote node you wish to join.
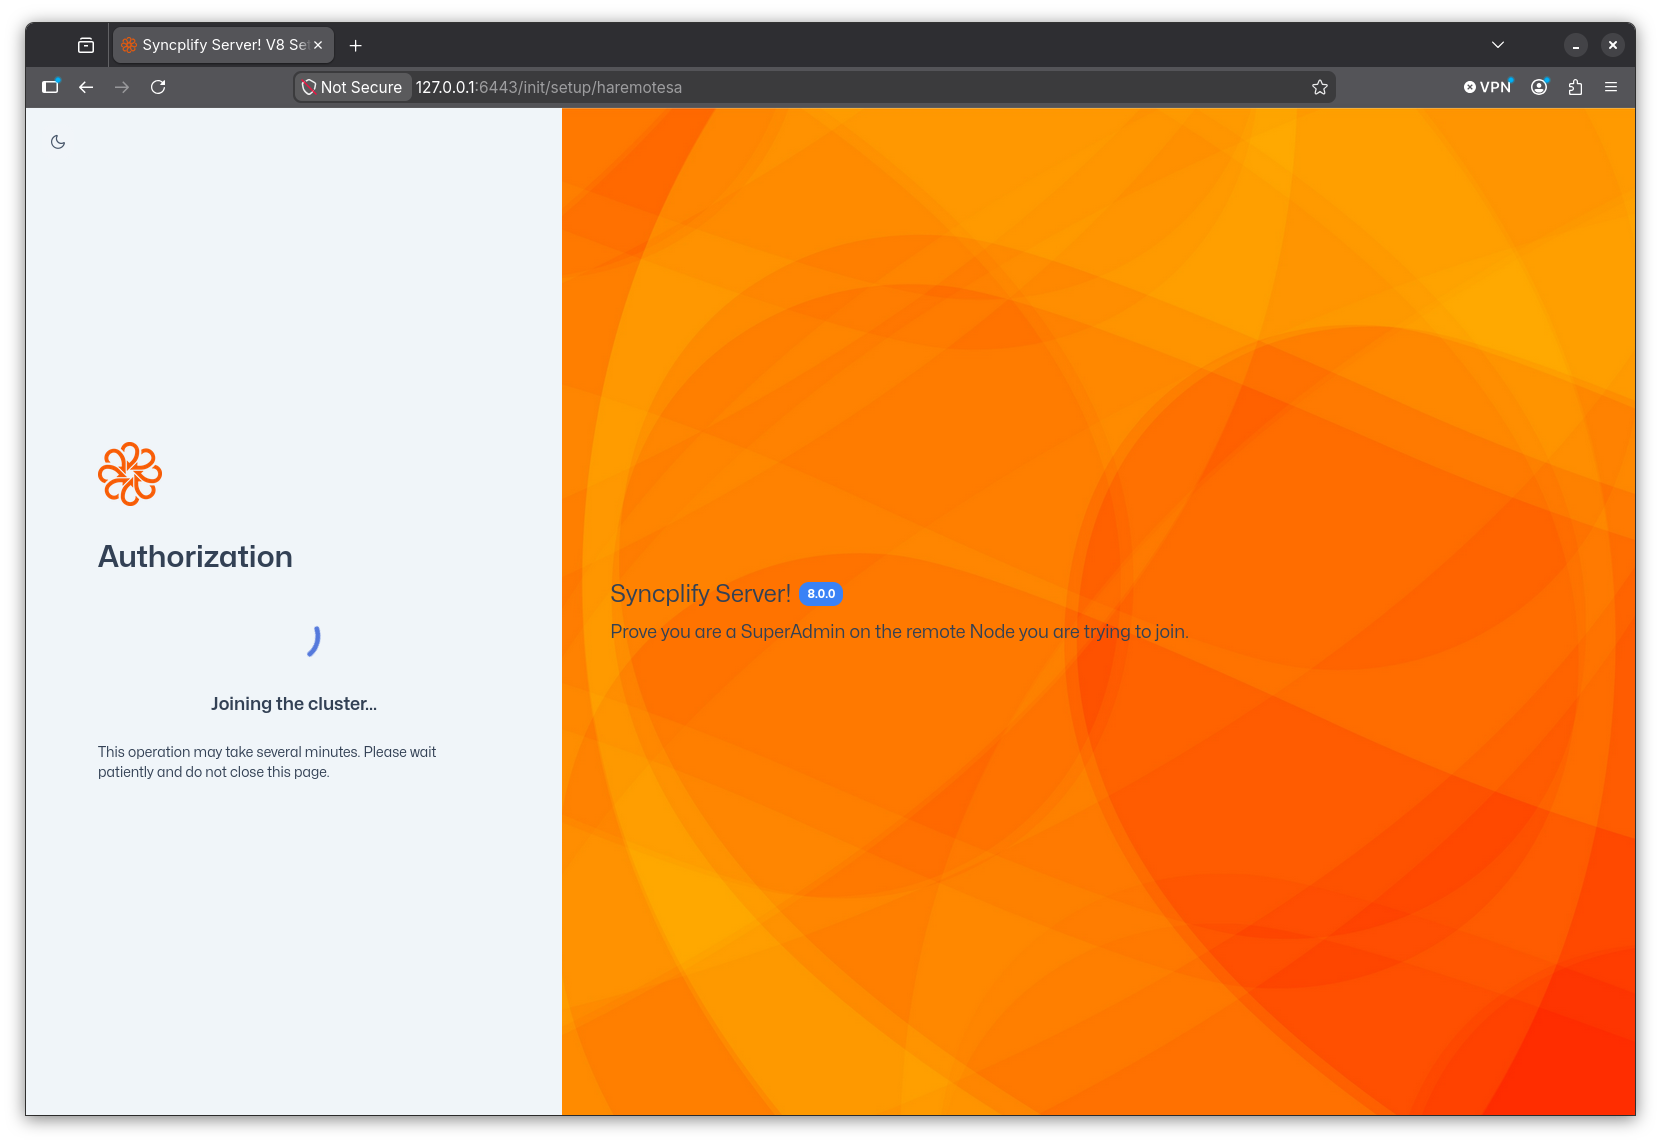
Once you click Next, the node you are setting up attempts to join the remote node and establish itself in the cluster. You will see a spinning progress indicator; this can take a while, so be patient.
If everything goes well, once the new node has become part of the cluster you are redirected to the SuperAdmin UI, where you can sign in with the credentials you already know.
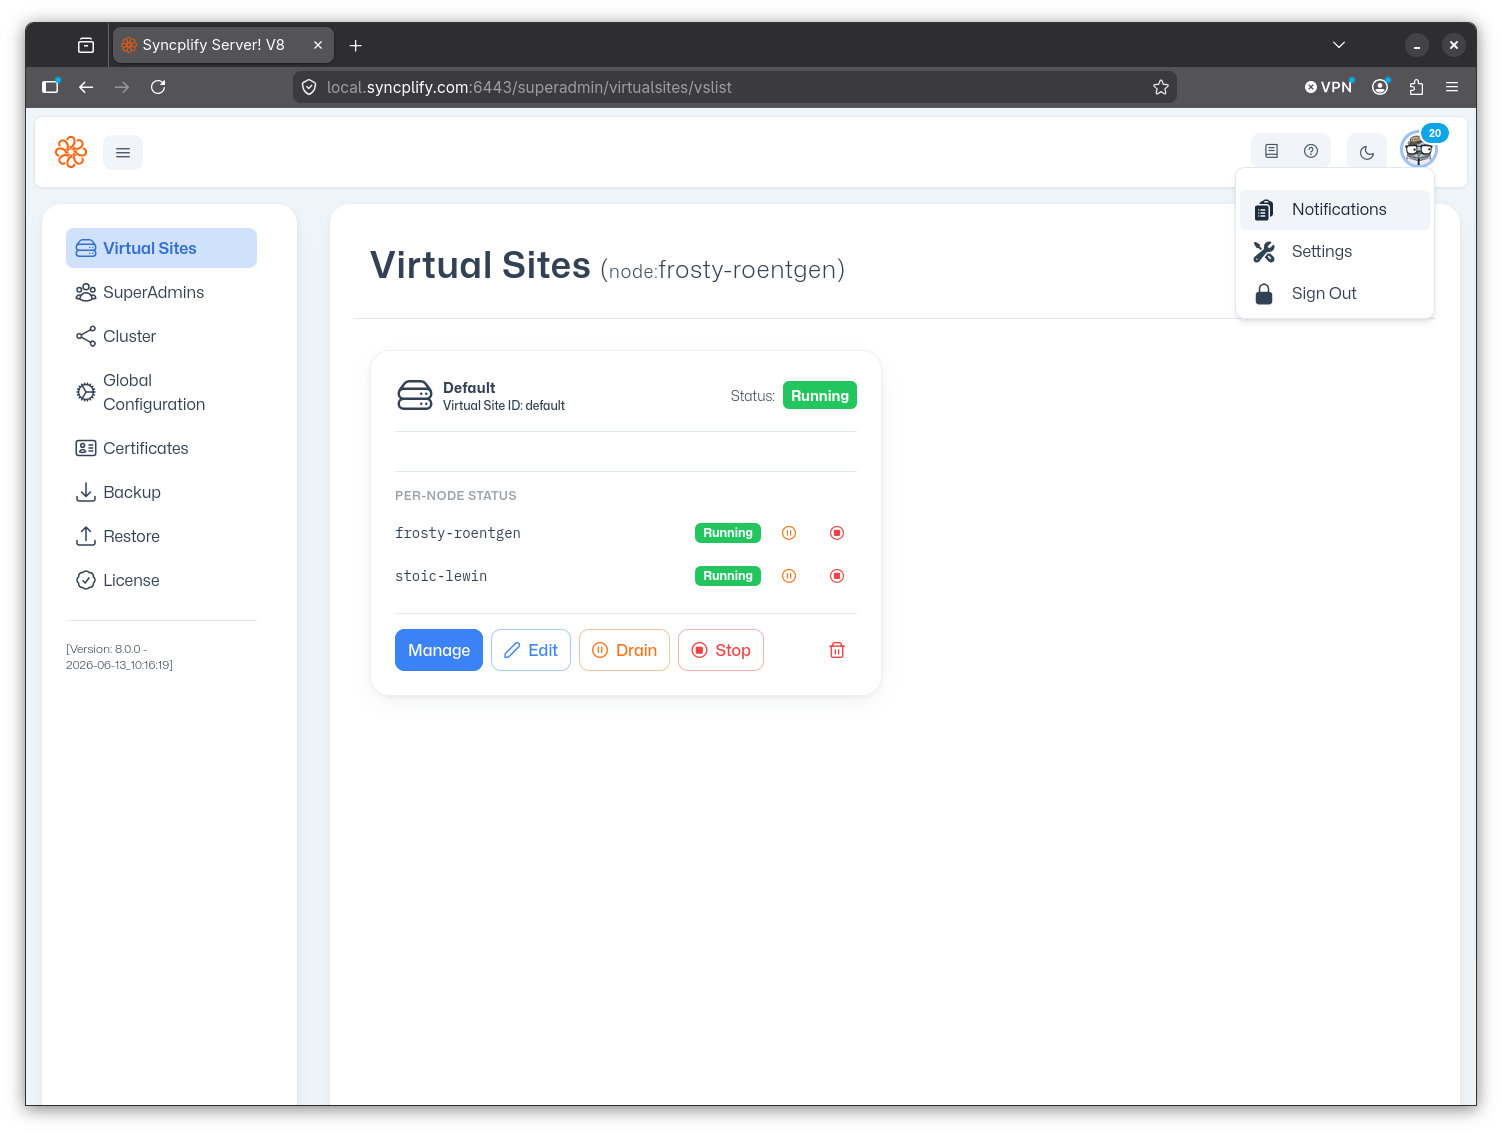
You will notice a few things in the SuperAdmin UI when the node is part of a cluster. Each virtual site card in the Virtual Sites page now shows the status of all the cluster nodes:
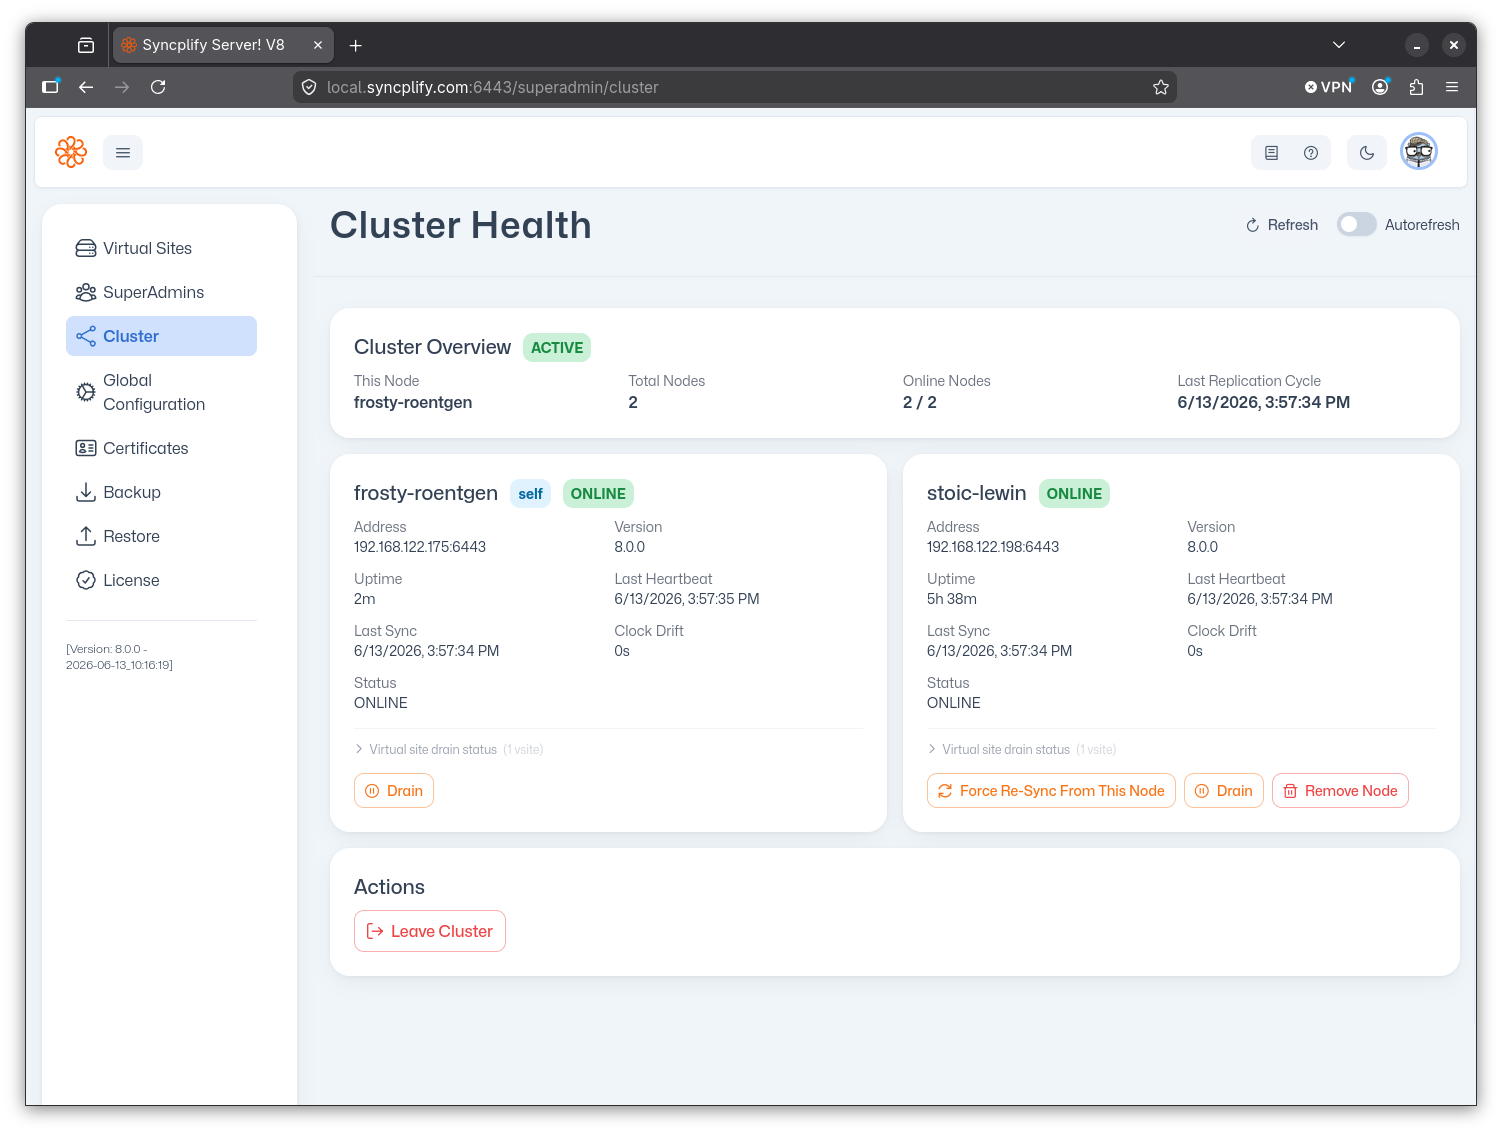
And there is a new page in the SuperAdmin UI, called Cluster, with full observability and maintenance actions for the whole cluster and for each of its nodes:
Step 3: safe list your load balancers
WARNING
If your HA deployment includes one or more load balancers, this step is mandatory.
Load balancers continuously probe the SFTP nodes by opening connections and closing them, often after a protocol handshake and without ever attempting to sign in. This is normal and expected behavior. The Shield, the automatic protection of every virtual site (it replaced Protector! in v8.3.0), counts exactly that pattern as connect and drop abuse, and would eventually ban the load balancer's address, which brings the whole cluster down from the clients' point of view.
The fix is straightforward: add the address of every load balancer to the safe list of every virtual site, on the Shield page of the Admin UI, Safe list tab. A safe listed address is never banned, whatever it does; this is precisely the scenario the safe list exists for. The nodes of the cluster themselves are exempt from the management console's Shield automatically.
The three lists, and how they differ, are explained in Allow list, safe list and bans and in the manual: Shield, safe list, allow list.
Keeping the cluster current
Nodes are never updated at the same time. From version 8.4.0 the cluster updates itself one node at a time, on request from the Updates page of the SuperAdmin UI or automatically according to the update policy. When you update with the installer instead, run it on one node, wait for that node to pass its health check and to be back online in the Cluster page, then move to the next. See Updating and upgrading: general rules.