Setup on Linux
The short one-liner
If you are not interested in a detailed overview and explanation, here's a one-line shell command that will:
- Download the current (latest release) version of the installation archive into a temporary folder
- Extract it and run the CLI setup for you via
sudowhich will install the software or automatically update it to the latest release if it's already installed in your system
For X86-64/AMD64 architecture
If you prefer wget:
wget -nv -O setup.sh https://dl.syncplify.com/ss-setup-linux-x64w.sh && sudo sh setup.shIf you prefer curl:
curl -fsS -o setup.sh https://dl.syncplify.com/ss-setup-linux-x64c.sh && sudo sh setup.shFor ARM architecture
If you prefer wget:
wget -nv -O setup.sh https://dl.syncplify.com/ss-setup-linux-armw.sh && sudo sh setup.shIf you prefer curl:
curl -fsS -o setup.sh https://dl.syncplify.com/ss-setup-linux-armc.sh && sudo sh setup.shDetailed overview and explanation
The following video shows how to install Syncplify Server! on a Linux operating system:
First of all you'll need to download the most recent version of our software from our website. After that, in order to extract it and to install it, here's a handy copy-pastable list of the two commands you'll need.
To extract the downloaded archive:
tar -xvf name_of_downloaded_targz_archive.tar.gzThen to begin installing or updating the software:
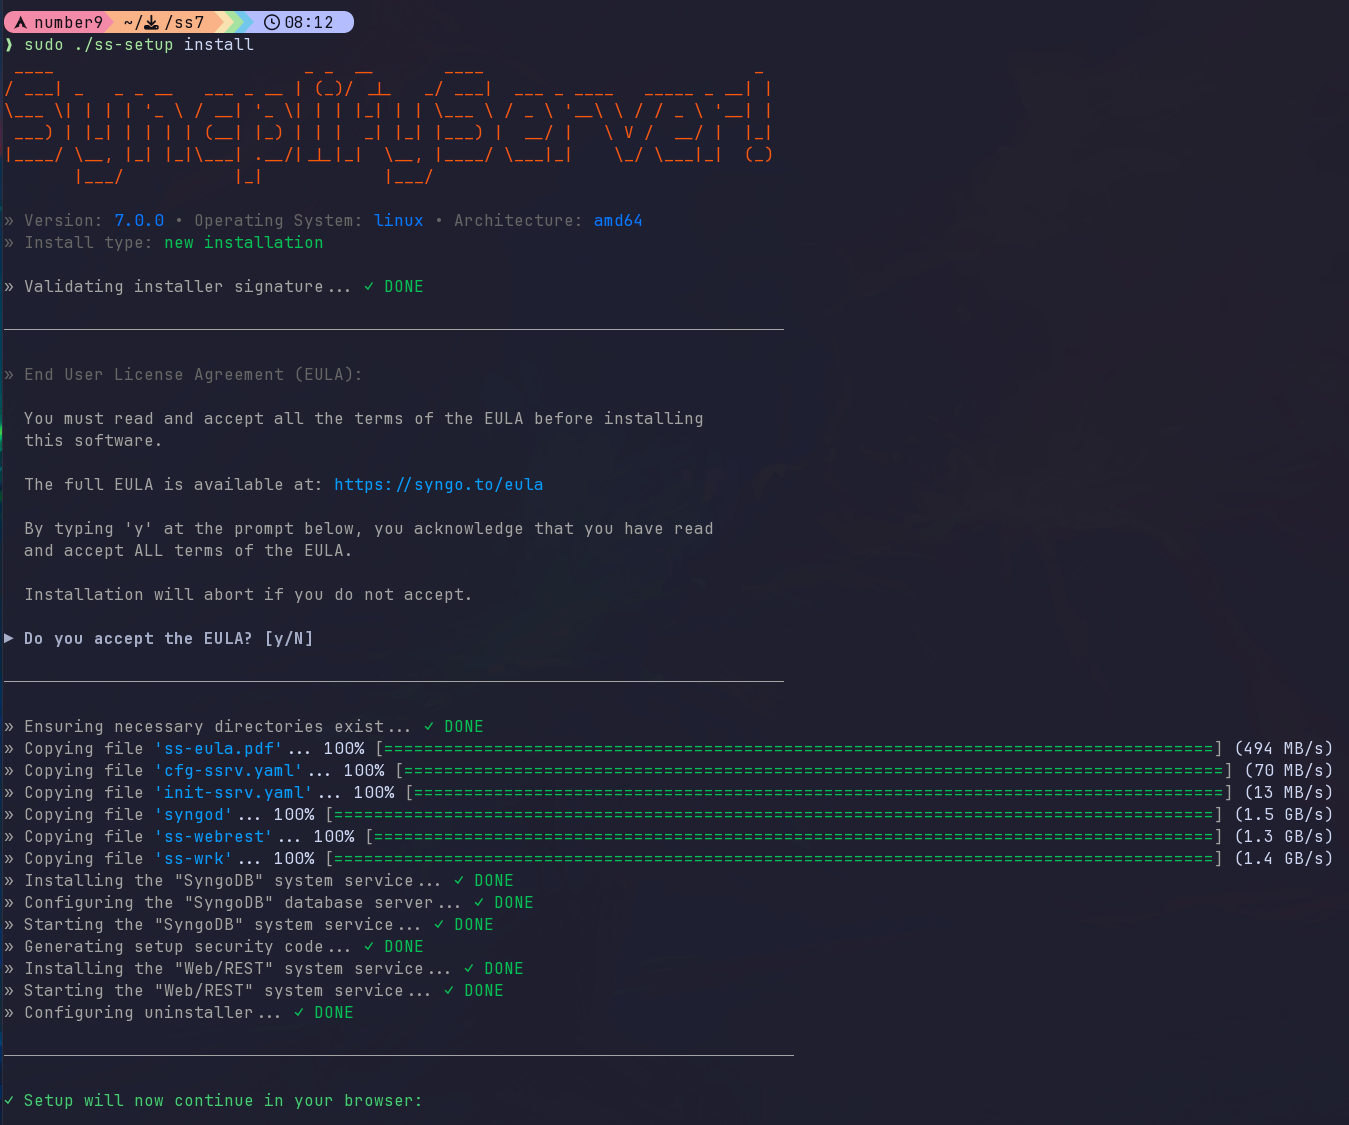
sudo ./ss-setup installAt the end of this phase, a URL will be shown to you. Simply open it in a browser to continue with the rest of the setup process.
Be careful, the URL references localhost (127.0.0.1) but if you're using a browser on a different computer you will have to change 127.0.0.1 into the current IP address of the machine where you just installed Syncplify Server! on.
How to uninstall
To make uninstallation easier, the installer copies the ss6-setup executable to your /usr/bin directory. Therefore, in order to uninstall Syncplify Server! you can simply open a terminal window anywhere, and type:
sudo ss-setup uninstallAfter that, if you also want to remove the uninstaller, you may (optionally) want to do this, too:
sudo rm /usr/bin/ss-setupHow to update/upgrade
When the CLI installer is invoked with the install verb, it will automatically try to determine whether the software is already installed on the system, and - if that is the case - perform an update/upgrade rather than a new install.
There is, however, a way to force the CLI installer to perform an update/upgrade, when you already know that this is the case. You can simply add the --update flag to the install verb, like this:
sudo ./ss-setup install --updateAnd, just in case... you can also do a "repair"
Should anything happen, you can always use the same ss-setup you downloaded and extracted, to "repair" your currently deployed executable and back-end DB configuration, like this:
sudo ./ss-setup install --repairMore useful command-line flags
There are a couple additional command-line flags that you may want or need to use occasionally. Both of them are intended to be used in conjunction with the install verb.
| Flag | Purpose of the flag |
--trace |
Enables trace-level logging for the installation process. This will produce a larger and more detailed installation log, useful to identify the cause of possible installation issues. |
--norollback |
Typically, should something go wrong during installation, a rollback operation is performed, to leave your system unchanged. This flag disables such rollback, so that your system remains partially modified even after a failed installation. This is useful in some cases for debugging. |
That's it. :)
