High-Availability (HA): how to setup
This article assumes you've already read, understood, and are familiar with the general concepts explained here.
Once you have decided how to deploy your Syncplify Server! high-availability set, going from theory to practice is actually quite simple: it's just a two-step process.
Step #1: deploy the first node as if it were a single stand-alone server
This procedure is very well explained here (for Windows) and here (for Linux).
Step #2: adding the second (or n-th) node to make your HA set
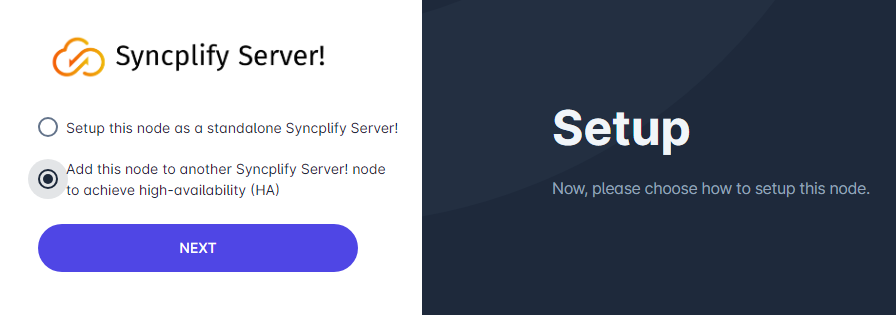
If you are familiar with the single-node setup of Syncplify Server! (see step #1) then you surely have noticed that, at the beginning of the web-based part of the installation process, you're presented with the following choice:
To deploy your HA set you simply have to install Syncplify Server! on another node (machine or VM) and, when presented with the above choice, you'll select the "Add this node to another..." option.
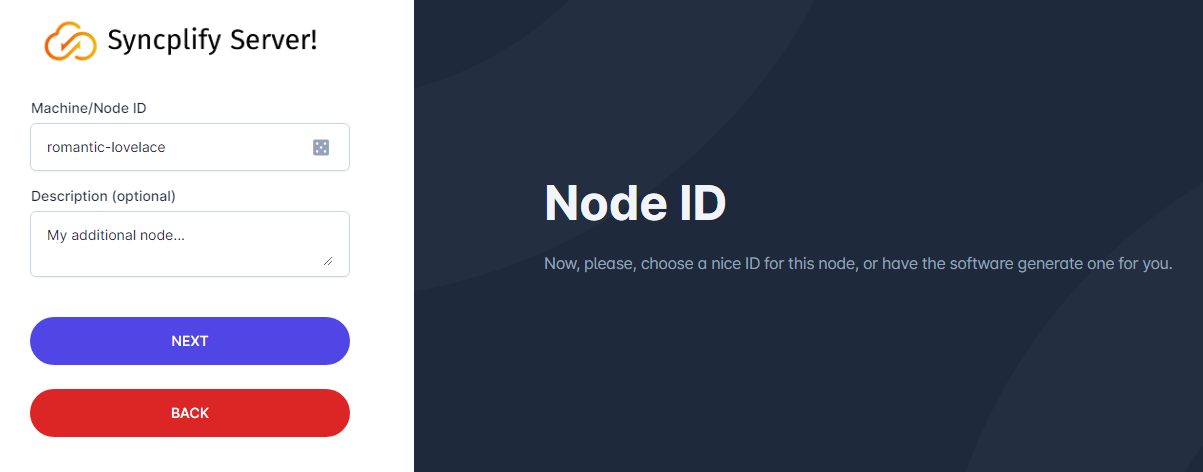
You will then choose a Node ID (and an optional description) as usual...
And then you will type the IP address and port (separated by a single colon) of the first node, the one you previously installed as a single stand-alone server. For best performance and optimal routing you should always use the nodes' internal (LAN) IP addresses here.
Do not try to be creative here, do not type anything exotic like the nodes' NetBEUI names "just because Windows knows it" or similar oddities. It will not work. Please, just follow the instructions and type the LAN IP address and port of the existing node you want to join to create your high-availability set. Thank you!


