Theme
RustFS
RustFS is a remarkable, self hosted, S3 compatible object storage (read more on the RustFS website).
Step 1: in the RustFS web console
To use this object storage as a back end for SFTP.cloud, first create a bucket in the RustFS web UI, as you normally would:
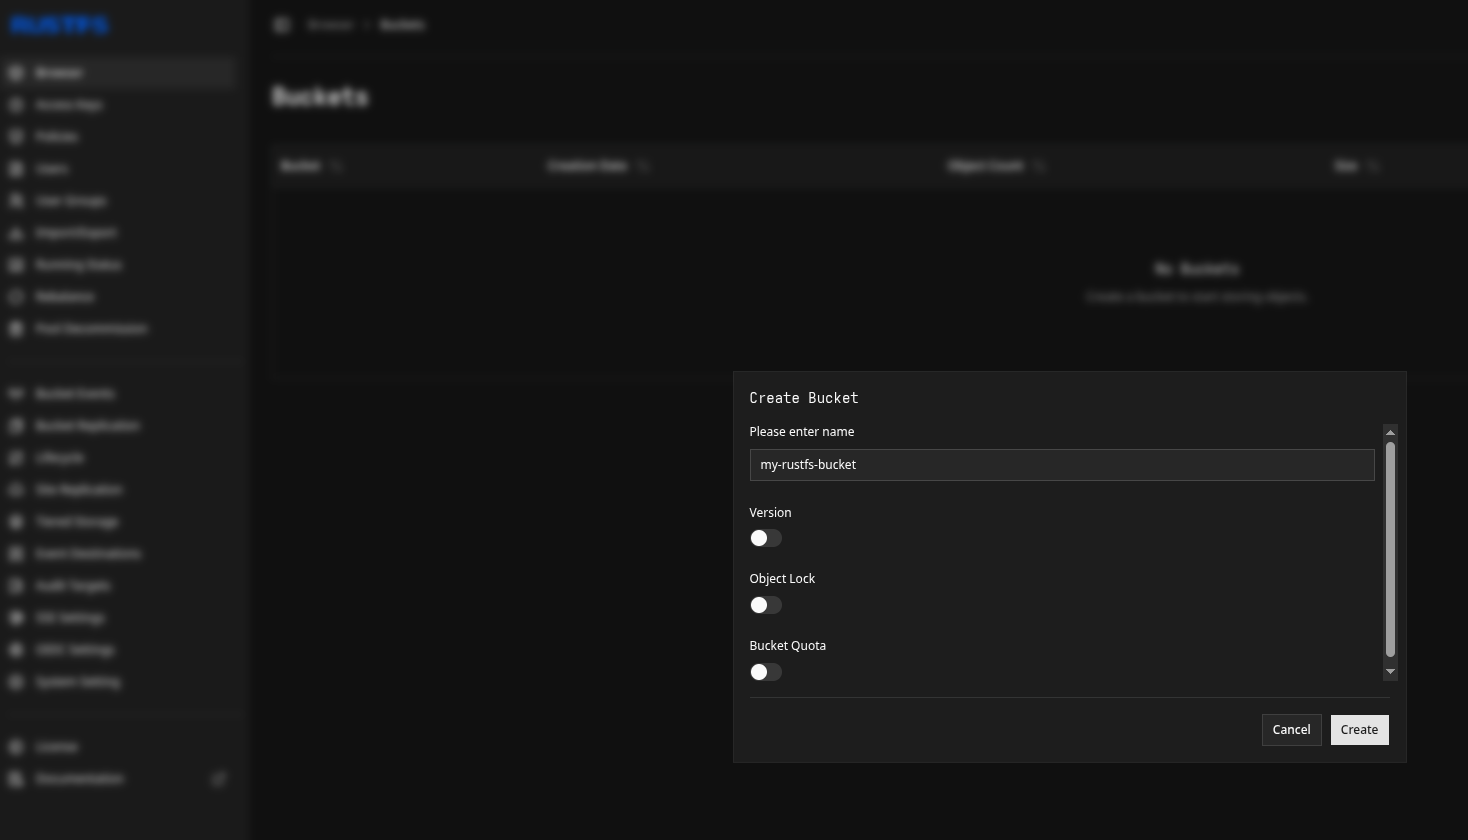
Once the bucket exists, the next thing you need is an access key and its secret. Issue them in the Access Keys tab of the RustFS web UI. Limit the scope of the access key to the buckets you genuinely want to use through SFTP.cloud.
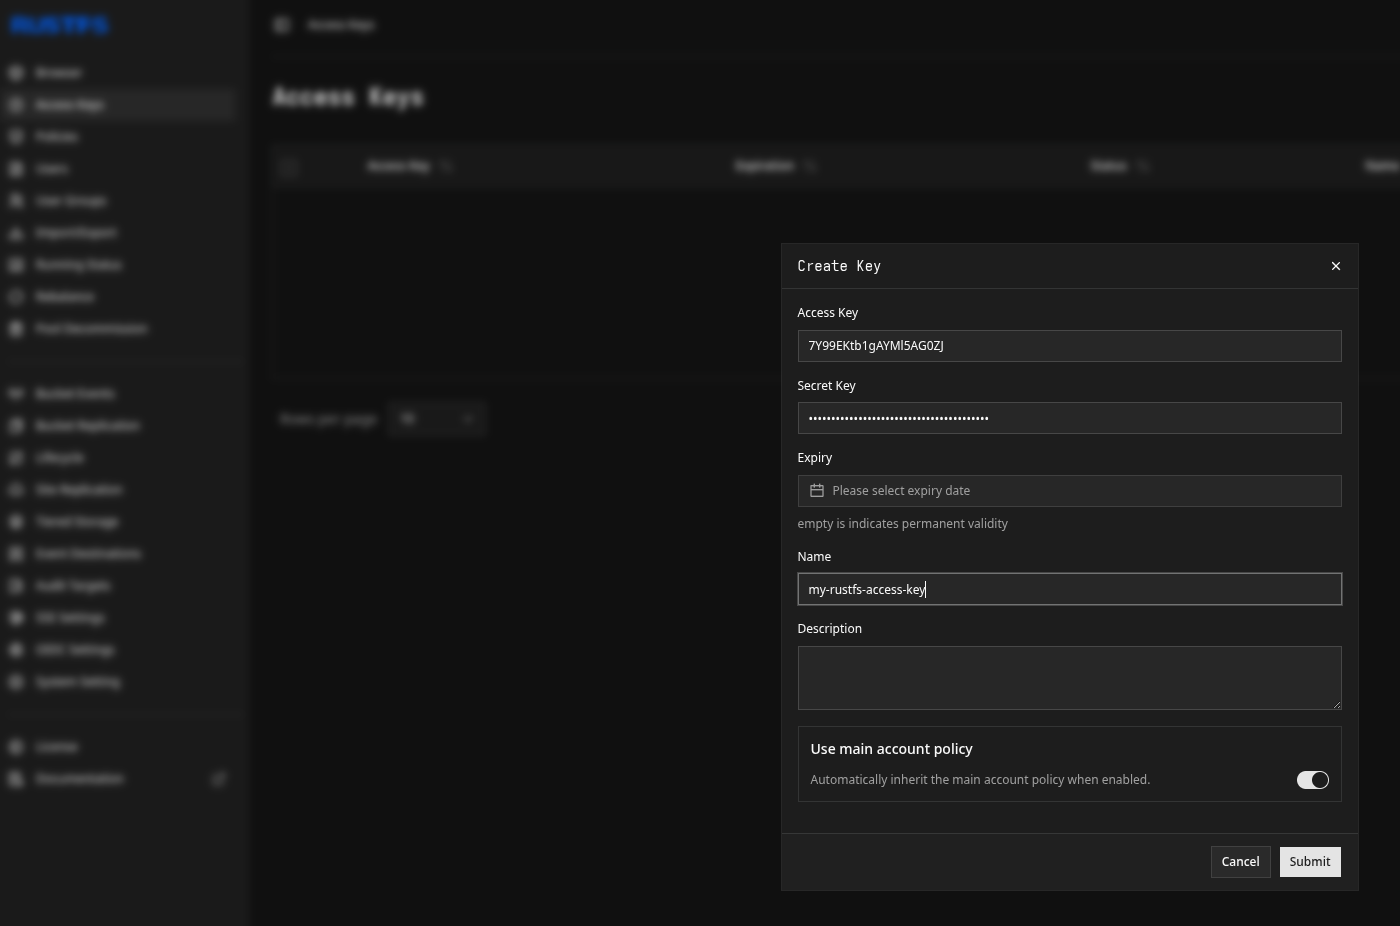
That is it for the RustFS side. Now to the SFTP.cloud side.
Step 2: in your SFTP.cloud Storage Connector
Best performance
Deploy the Storage Connector as close as possible to the storage it handles. If your RustFS instance runs in a subnet of your on premises network, the ideal location for the Storage Connector is a VM in that same subnet or in your DMZ, with outbound access only: no inbound rules on your firewall are necessary.
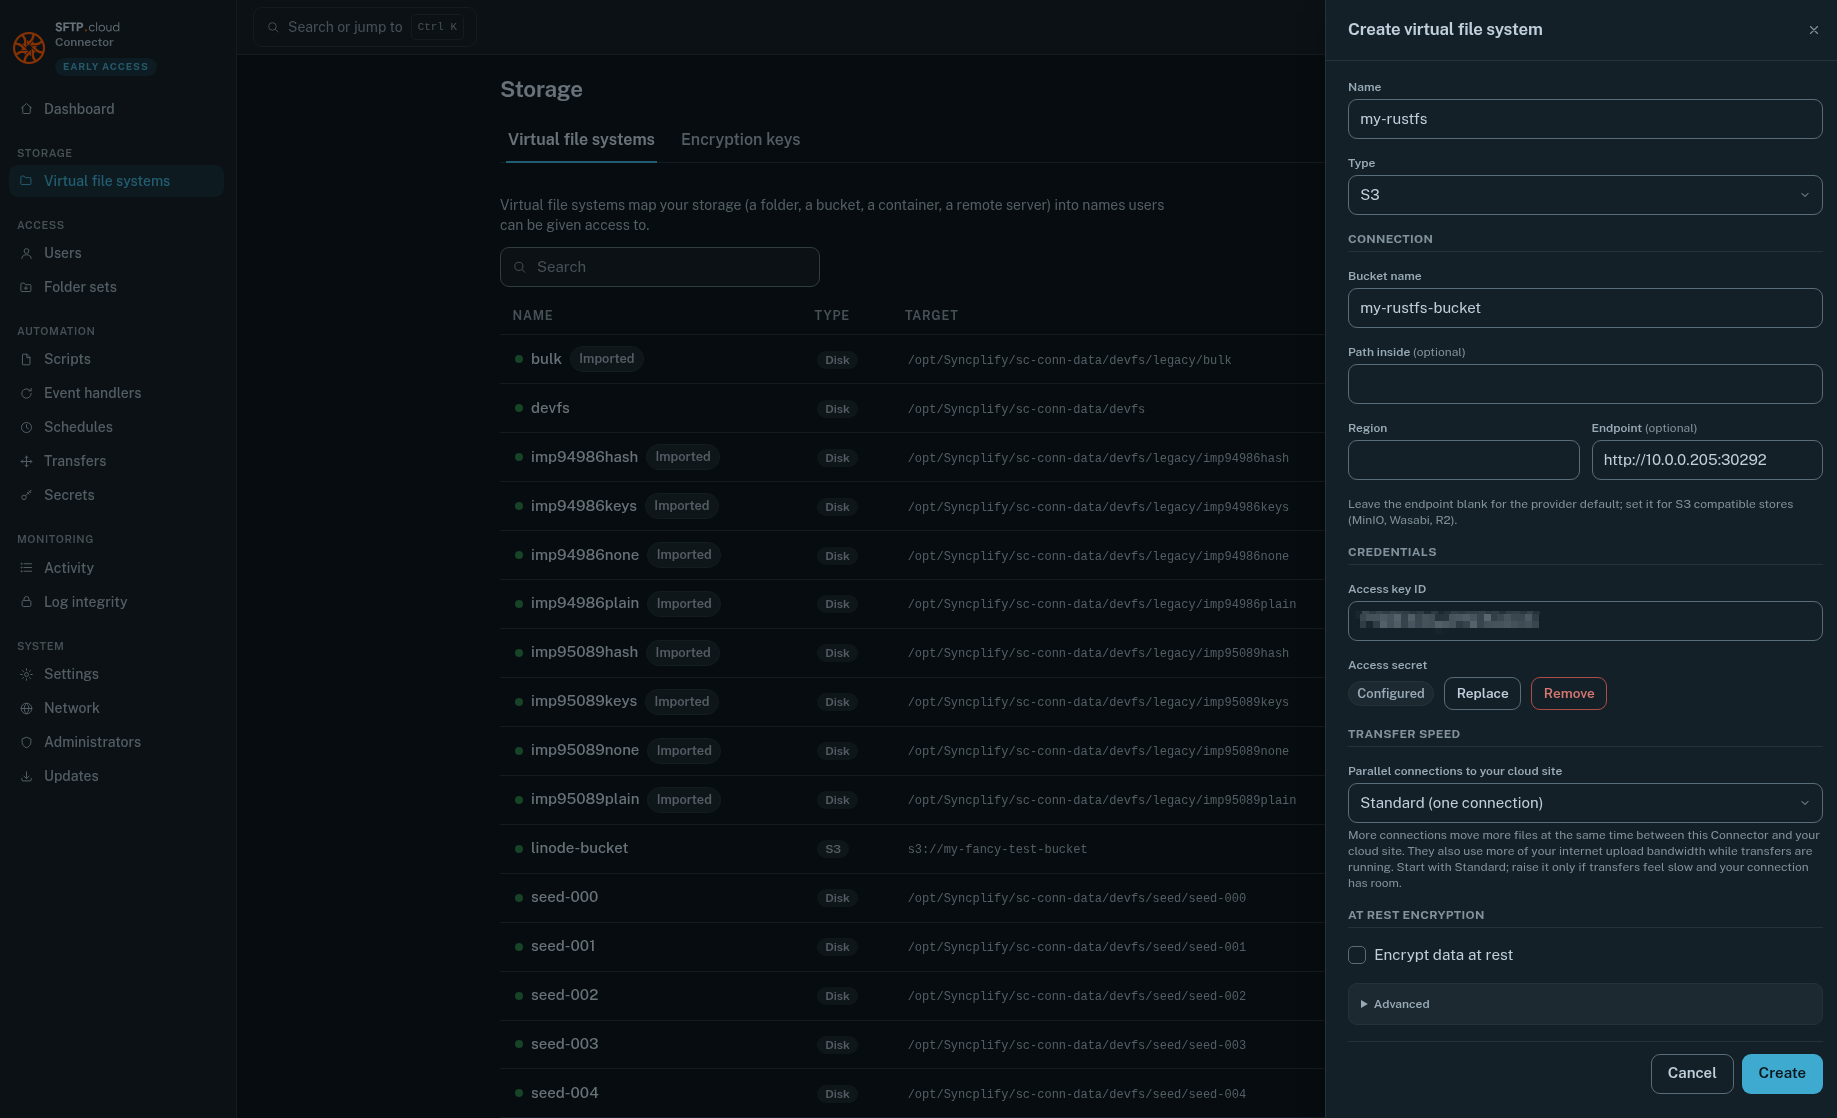
The first thing to do is to add a new Virtual File System. For RustFS in particular there are a few small but important details:
- Type:
S3(as for any other S3 compatible object store) - Region: leave it empty
- Endpoint: the RustFS S3 endpoint. By default RustFS serves the S3 API on port 9000 (the web console is on 9001), so it is
http://<rustfs-host>:9000, orhttps://...if you configured TLS, which you definitely should. If you run RustFS behind Kubernetes or a reverse proxy, use the port you exposed. - Use path style addressing: on. RustFS, like MinIO, serves buckets in the request path by default. With the toggle off, the Connector looks up
<bucket>.<rustfs-host>, a name that does not exist, and the connection test tells you so. - Skip TLS certificate verification: leave it off. If RustFS uses a certificate from your own CA, trust that CA on the machine running the Connector instead; the toggle is for a test bench.
WARNING
Do not forget to press the Save button next to the Access secret after typing it in, or it will not be saved and nothing will work.
When you save, the Connector tests the storage right away. If it cannot reach it, the form stays open and says why.
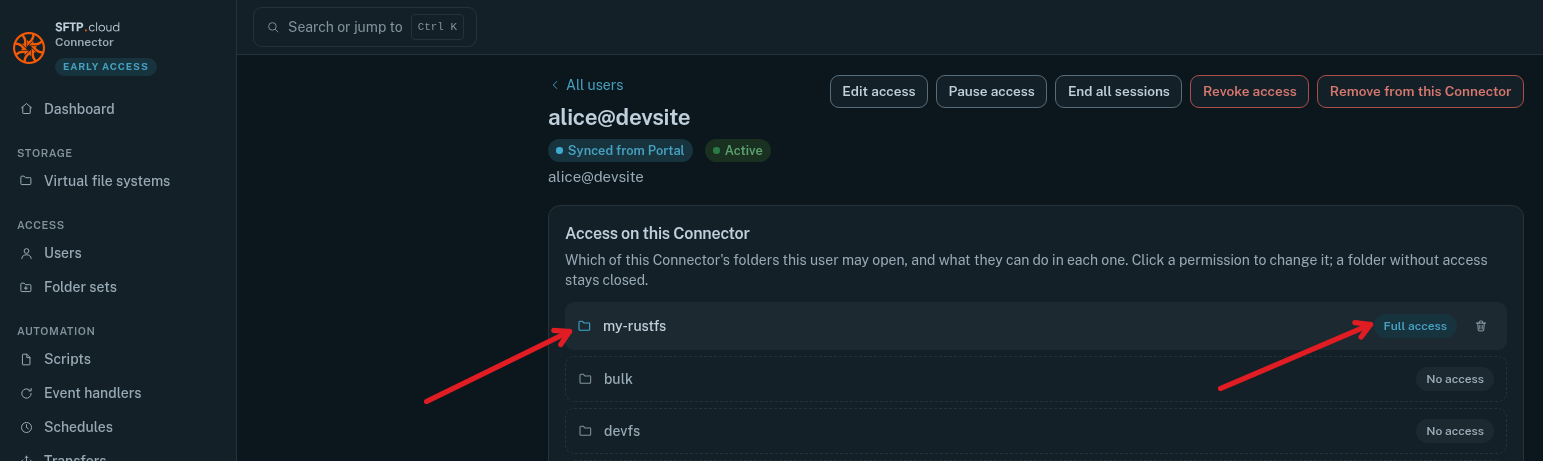
Then, still in the Storage Connector UI, go to the Users page and give your users the desired access to the new VFS:
Finally
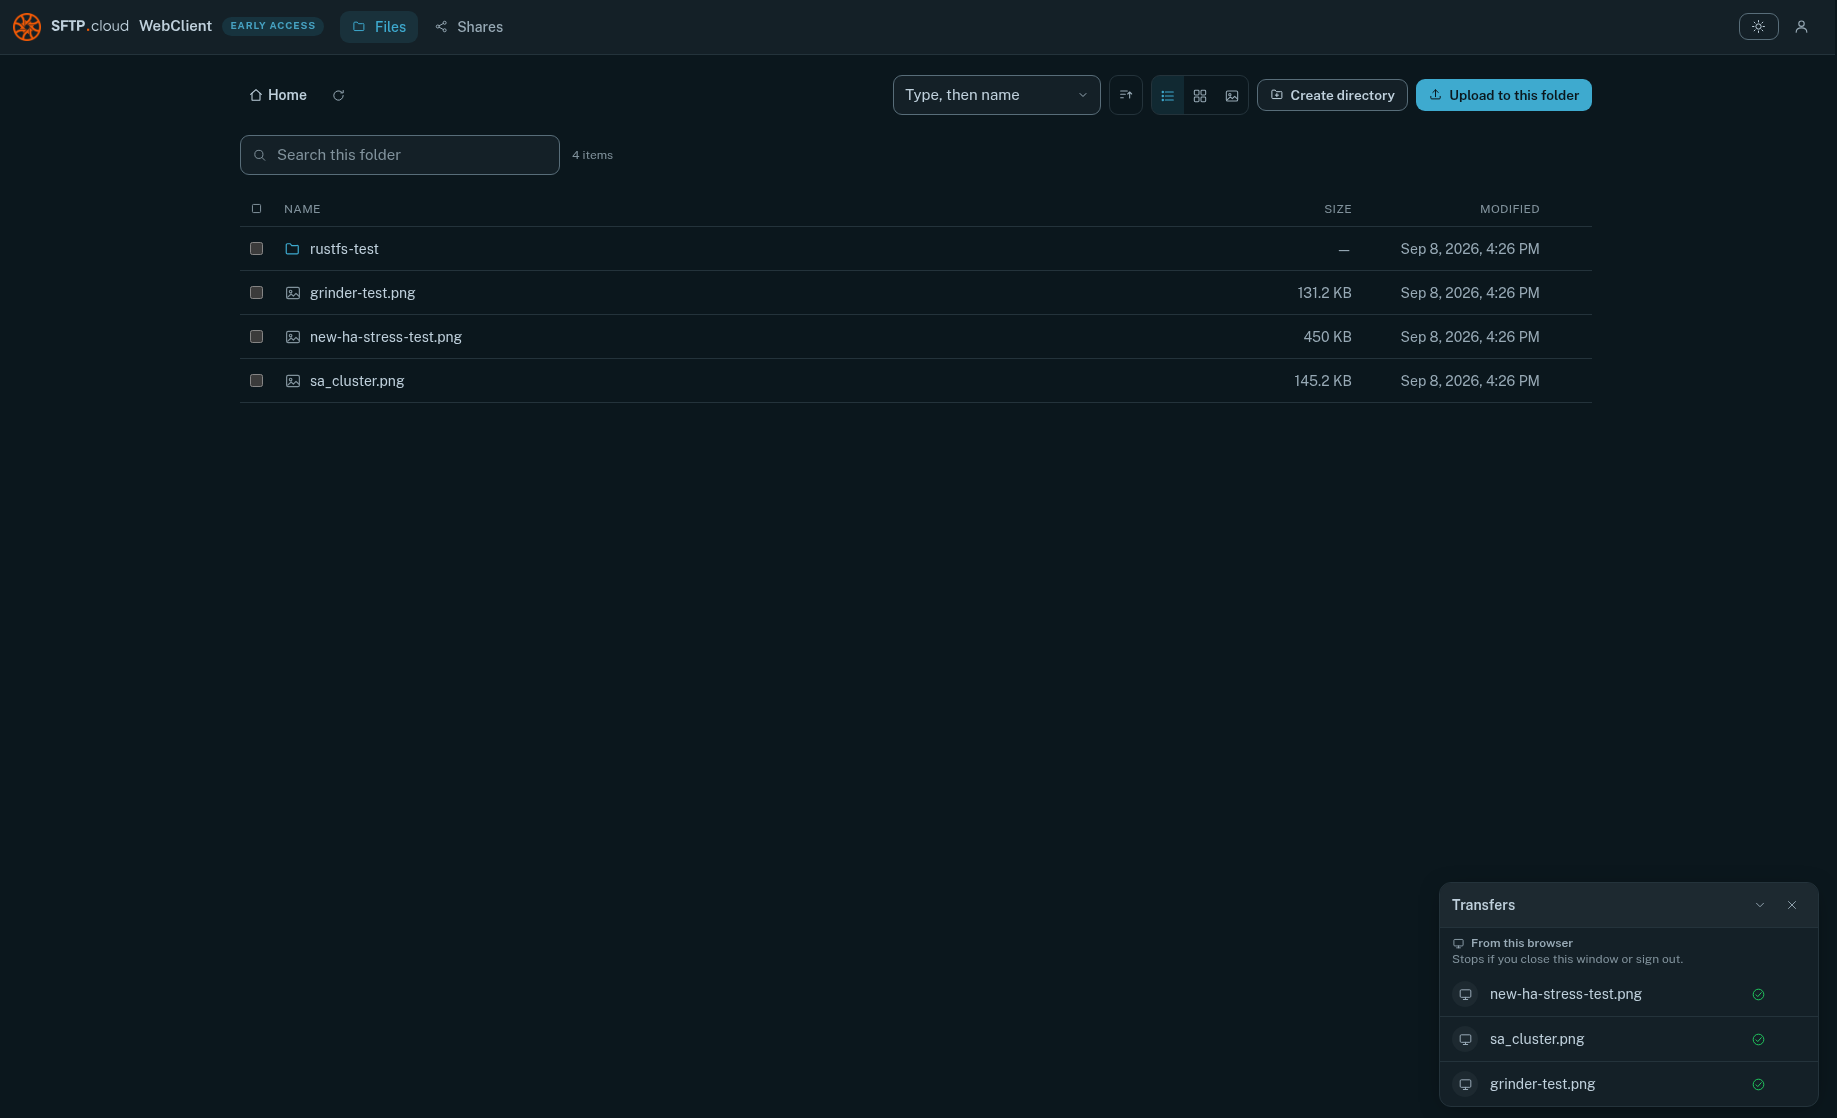
Test it. Connect through your SFTP.cloud WebClient, create a folder, upload some files:
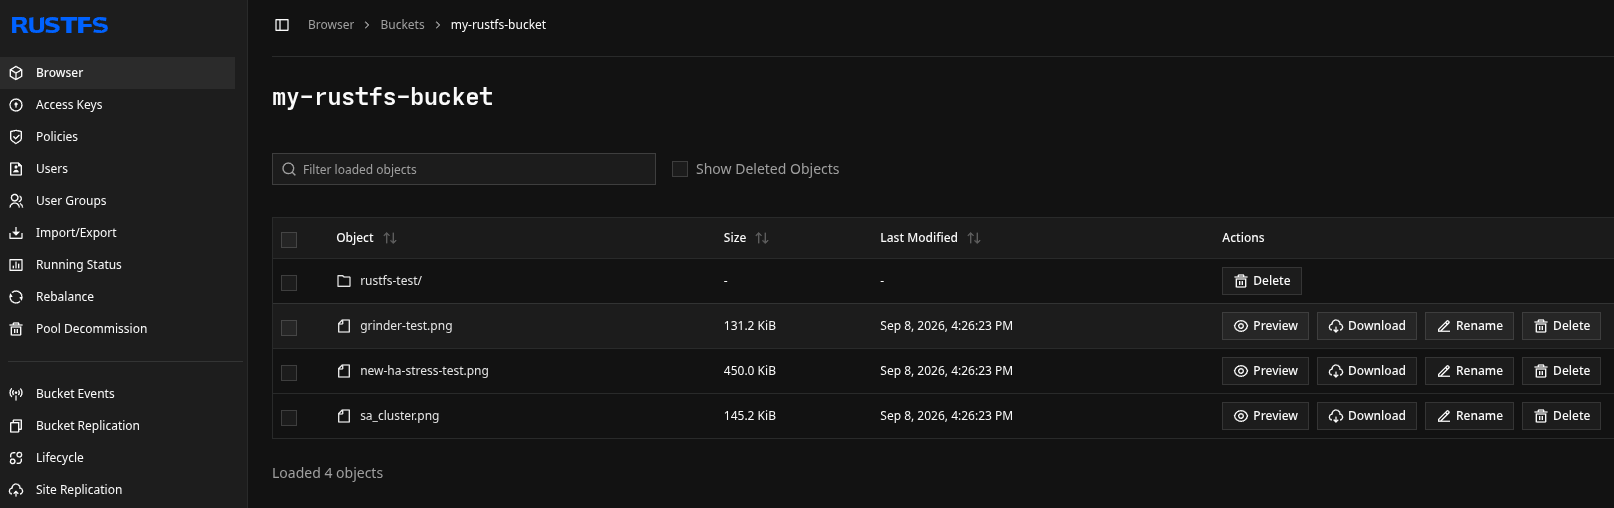
Then, back in the RustFS web UI, verify that your folder and files did land there:
In the manual