[**Creating a general purpose S3 bucket**](https://docs.aws.amazon.com/AmazonS3/latest/userguide/create-bucket-overview.html) (opens in a new tab)
Then to create an Access Key and Secret pair: 1. Create an **IAM User**: 1. Navigate to the IAM Console 2. Select Users 3. Click Create user. 2. **Attach Permissions**: In the permissions step, attach a policy granting S3 access (e.g., **AmazonS3FullAccess** or a custom policy restricting access to your specific bucket). 3. **Generate Keys**: After creating the user, click on the user name, go to the **Security credentials** tab, and select **Create access key**. 4. **Download Credentials**: Choose **Other** for the use case, add a description if desired, and click **Create access key**. Download the .csv file immediately, as the Secret Access Key is only displayed once. That's it for the Amazon/AWS side. Now let's move to the SFTP.cloud side. #### Step #2: in your SFTP.cloud Storage ConnectorFor **best performance** it is recommended that you deploy an SFTP.cloud Storage Connector as close as possible to the storage it handles, in this case **an EC2 VM** or **a container in Amazon ECS** are the ideal choices.
The first thing to do is to add a new **Virtual File System**. For Linode Object Storage in particular there are a few small (but extremely important) details to pay attention to: - **Type:** `S3` (just like any other S3-compatible object stores) - **Region:** whichever region you created the bucket in (ex: *us-east-1*) - **Endpoint:** for Amazon/AWS leave this one empty [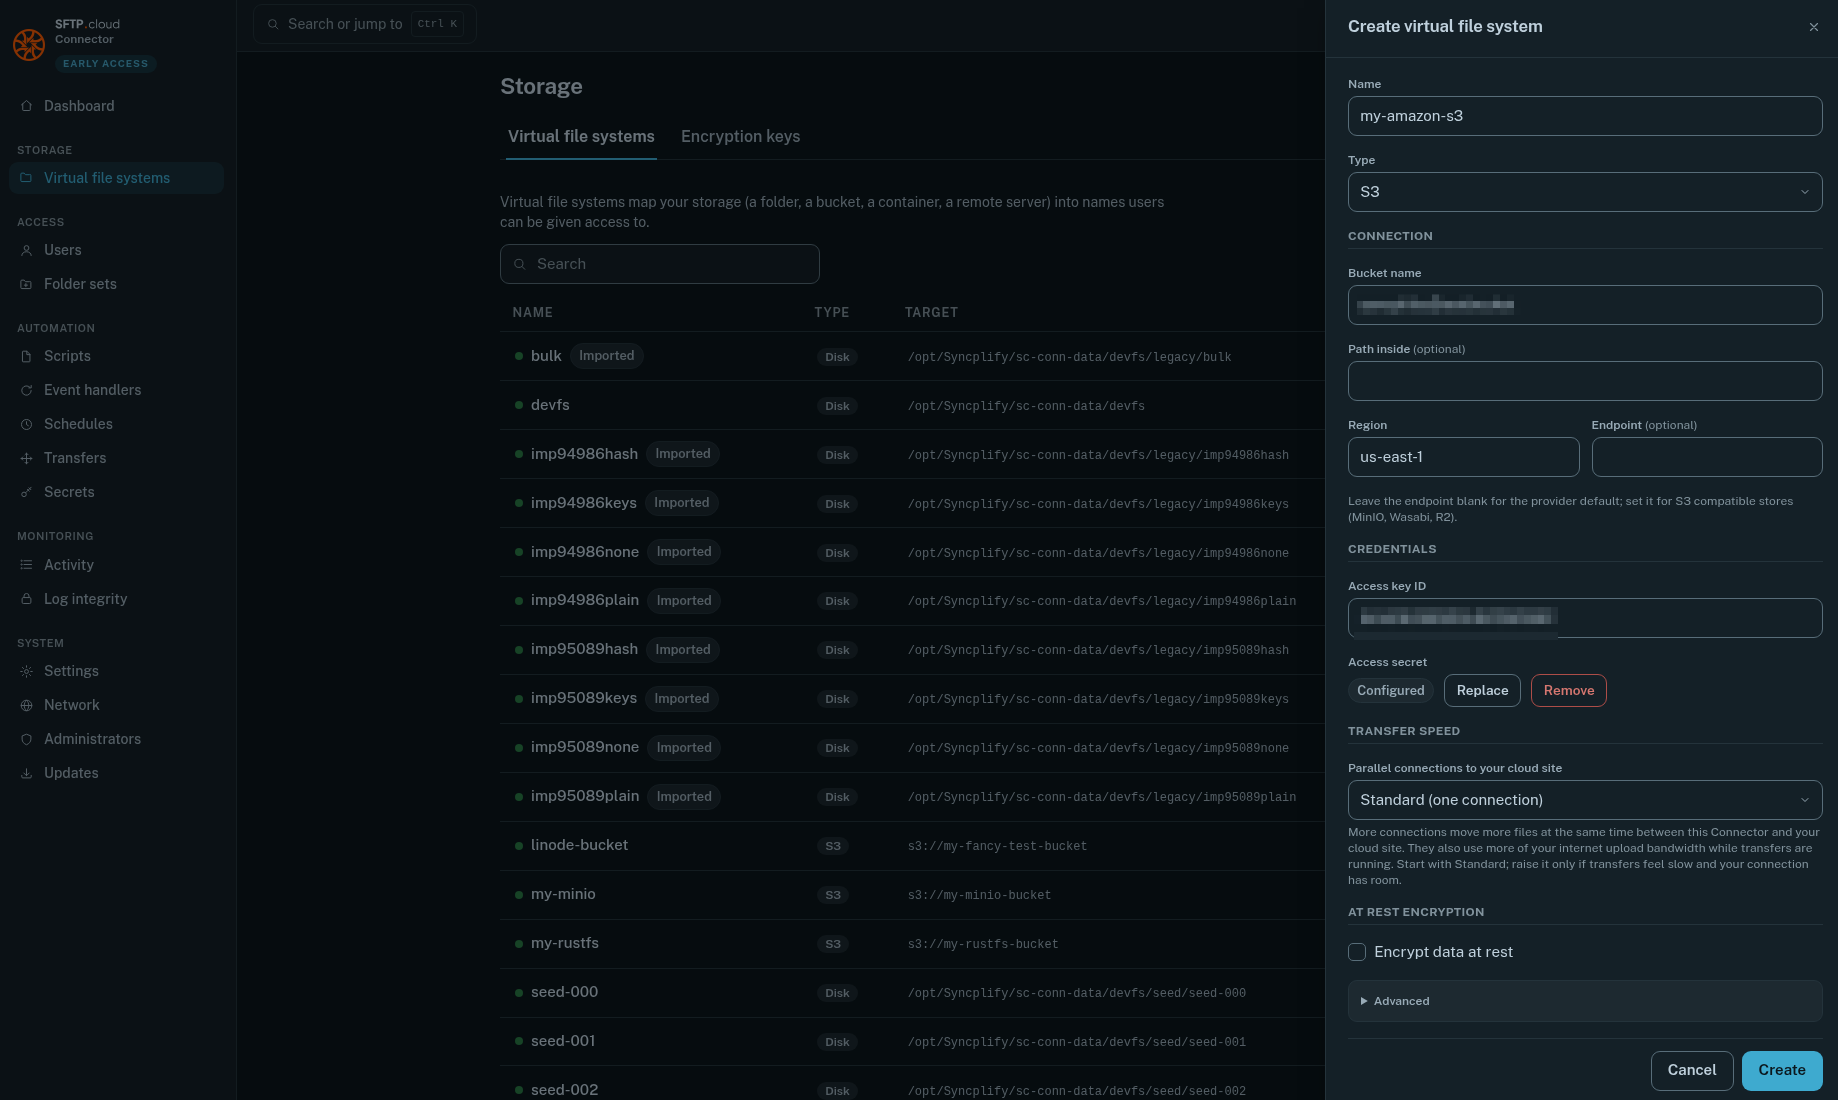](https://kb.syncplify.com/uploads/images/gallery/2026-09/0lUimage.png)**Do NOT forget** to push the `Save` button next to the **Access secret** after you type it in, or it won't be saved, and nothing will work.
Then, still in the Storage Connector UI, go to the **Users** page, and give your user(s) the desired access to the newly created VFS: [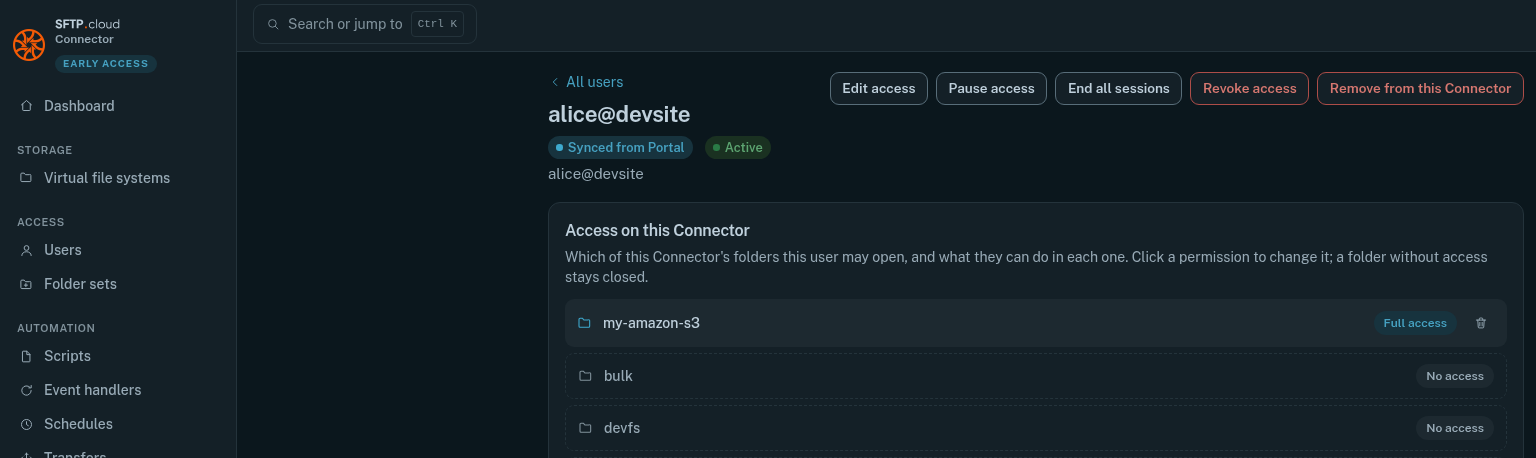](https://kb.syncplify.com/uploads/images/gallery/2026-09/vv6image.png) #### Finally Test it out. Connect to it via your SFTP.cloud WebClient, create a folder, upload some files... [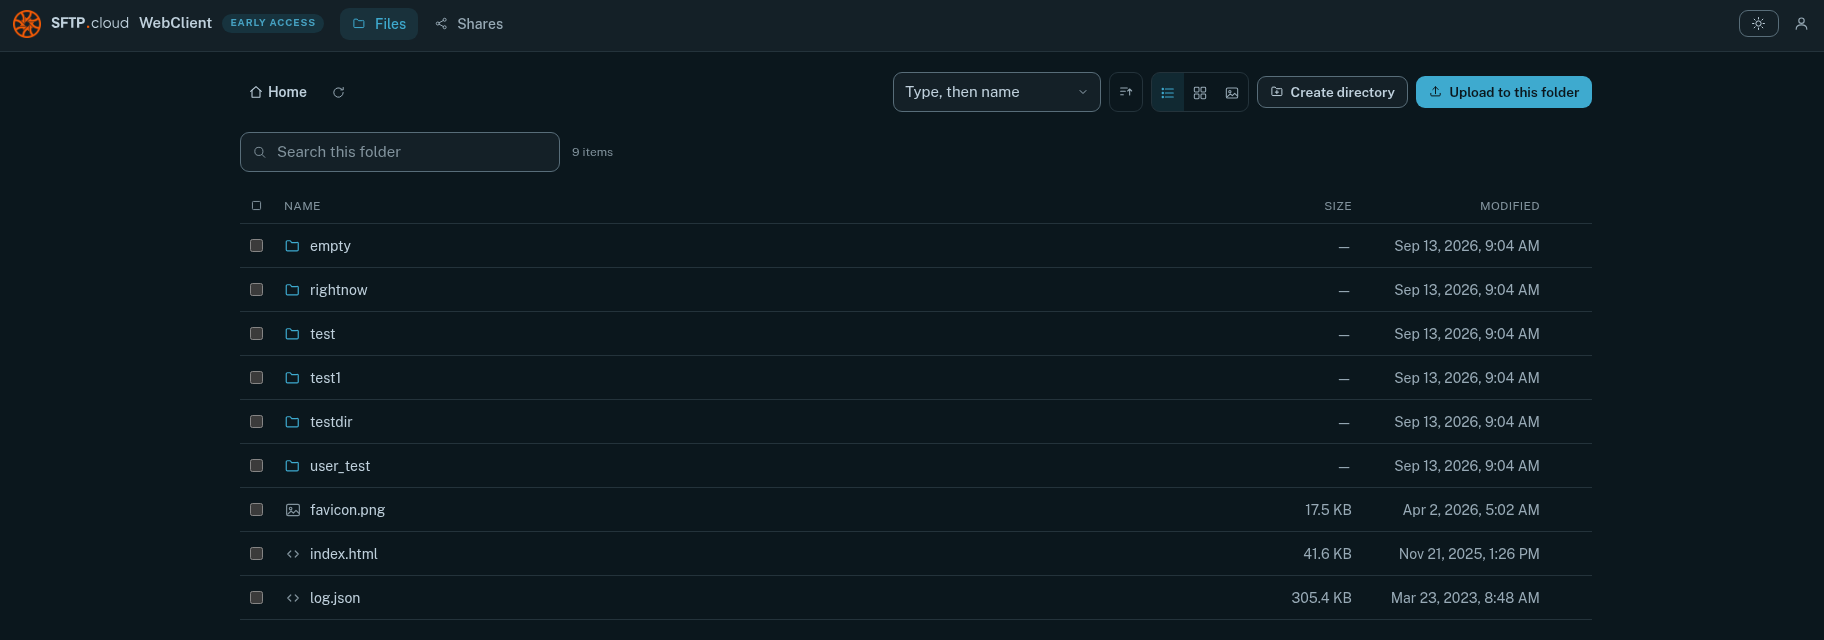](https://kb.syncplify.com/uploads/images/gallery/2026-09/ojJimage.png) \[Manual: [general information about storage back-ends](https://docs.sftp.cloud/connector/backends)\]